When you’re deep in the focus zone, expertly joining wires and mounting components to your latest circuit board, it’s easy to forget what’s curling upwards through the air. That slender, nearly invisible plume—that wafting, acrid aroma—isn’t the scent of progress. It’s a cocktail of rosin, flux, and heavy metals released by melting solder, and it’s anything but harmless. While soldering is the backbone of countless DIY electronics projects, the fumes it generates can represent a real hazard to your health.
Many makers and tinkerers don’t realize the toll those wisps of smoke can take on respiratory health over time. But the solution is neither expensive nor complex—and can even become a rewarding DIY project itself. Today, we’ll guide you through everything you need to know about creating a reliable 12V DIY fume extractor, why it matters, and how it can transform your workspace into a safer, healthier place to innovate.

## The Danger Lurking in Solder Smoke
Solder smoke is more than a nuisance. When solder (even lead-free varieties) melts, it releases microscopic particles and gases. Flux, used to promote better metal adhesion and conductivity, is a prime source of these emissions. Common components of solder fumes include rosin (pine resin or synthetic), which generates formaldehyde and acrolein upon heating, as well as tin, lead (in older solder), and other potentially harmful particulates.
**Short-term exposure** might just cause watery eyes and a scratchy throat. But, **long-term exposure** is linked to chronic bronchitis, asthma-like symptoms, and even more serious respiratory diseases. For hobbyists working in basements or windowless workspaces, the risk multiplies if fumes aren’t cleared away.
Yet, forced ventilation—opening a window, for instance—might not be practical or effective, especially during winter months or in shared spaces. That’s where a fume extractor steps in: targeted, active removal of toxic smoke at its source.
## What Exactly Is a Fume Extractor?
A fume extractor is a device that draws contaminated air away from the workspace, filters out harmful particles and gases, and blows clean air back into the room. Most commercial extractors use activated carbon and HEPA filters to trap particulates and neutralize organic compounds, but even a basic system can significantly reduce your exposure.

But why DIY? Commercial fume extractors, especially those designed for prolonged soldering, can cost hundreds of dollars—a big ask for a hobbyist. Building your own 12V unit is not only cost-effective but enables customization for your workspace.
## Why a 12V DIY Solution Makes Sense
A 12V system is the sweet spot for home-based soldering stations. Here’s why:
- **Safety:** Low-voltage systems reduce the risk of electric shock and allow for battery-powered operation if needed.
- **Availability:** 12V fans and accessories are everywhere, thanks to the electronics and PC modding communities.
- **Portability:** Small 12V extractors can be moved wherever you need them, easily fitting into compact workspaces.
- **DIY-Friendly:** Designing and assembling your own system is straightforward, encouraging experimentation and personal innovation.
## Essential Ingredients: What You’ll Need
Let’s break down the core components of a reliable DIY fume extractor:
### 1. **The Fan**

At the heart of the extractor is a 12V DC fan. Computer case fans (especially 120mm or 140mm sizes) are ideal—widely available, affordable, and effective at moving air.
**Key factors:**
- **Airflow:** Look for fans with at least 50 CFM (Cubic Feet per Minute) for optimal performance.
- **Noise:** Quieter fans make long sessions comfortable.
### 2. **Filter Media**
You’ll need something to trap toxic particles. The classic choice is an **activated carbon filter** (sometimes sold as “carbon foam” or “carbon pad”), which captures volatile organic compounds and some particulates.
You can often buy replacement carbon filters for commercial extractors and cut them to size, or use aquarium filter pads as an alternative. For added filtration, sandwiching a layer of HEPA filter material behind the carbon pad is a good idea.
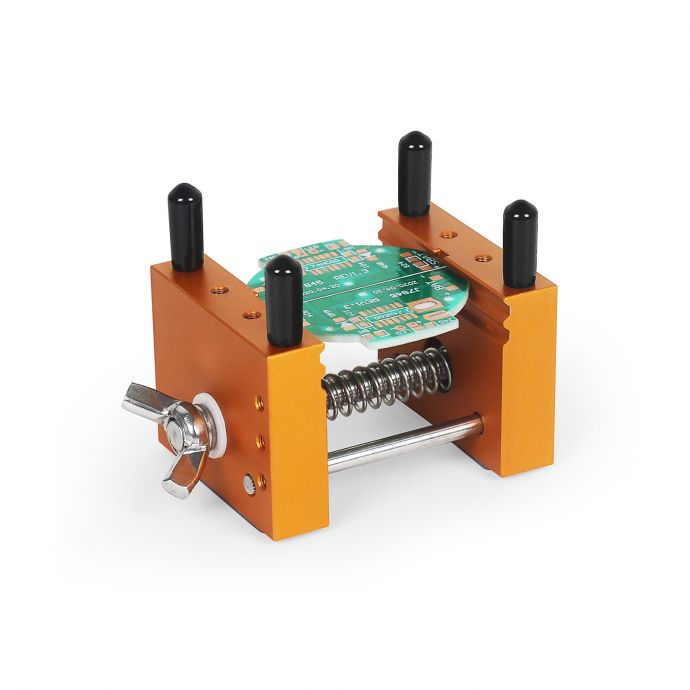
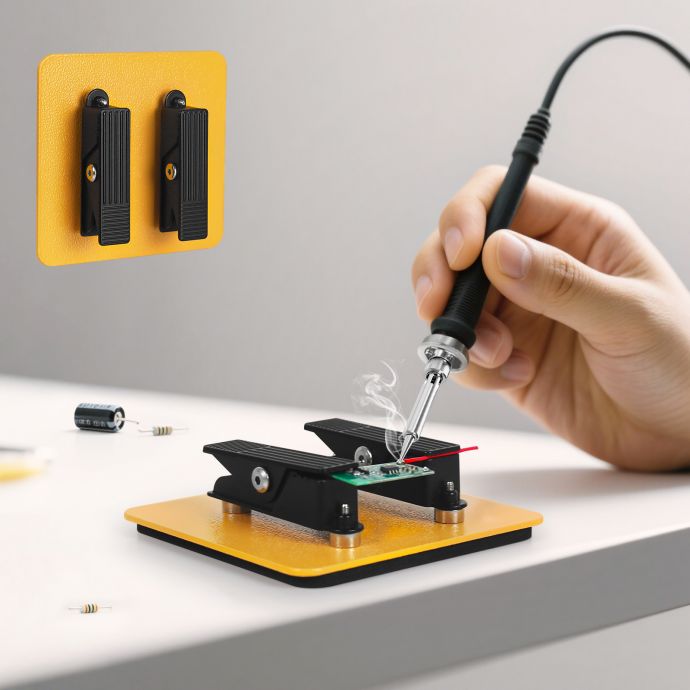
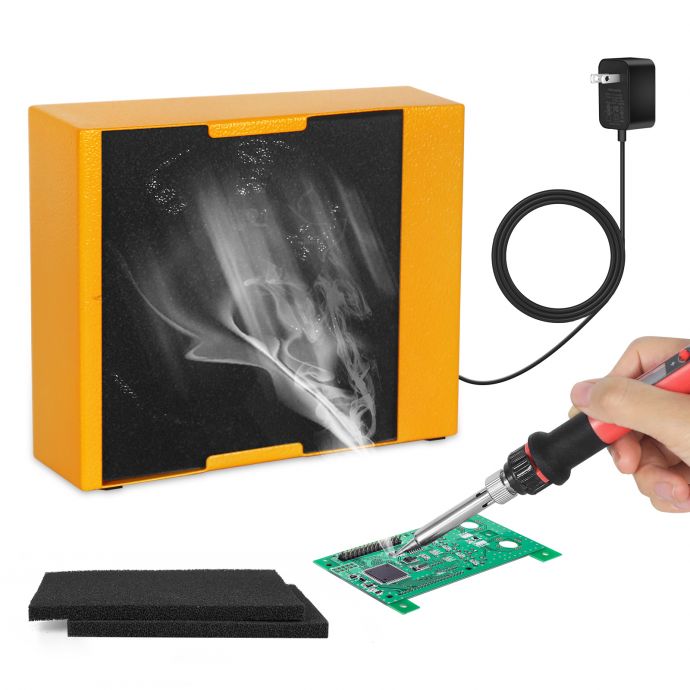
### 3. **Enclosure**
To house the fan and filter, build or repurpose a small box, frame, or 3D-printed shell. PC fan guards and frames are perfect starting points—bonus points if you design a bespoke enclosure that fits your workspace aesthetic.
### 4. **Power Supply**
You need a reliable 12V power source. AC-to-DC wall adapters (common for routers or LED strips) work perfect, or you might use a battery pack for portability.
### 5. **Extras (Optional but Useful)**
- Power switch for easy operation
- LED indicator light
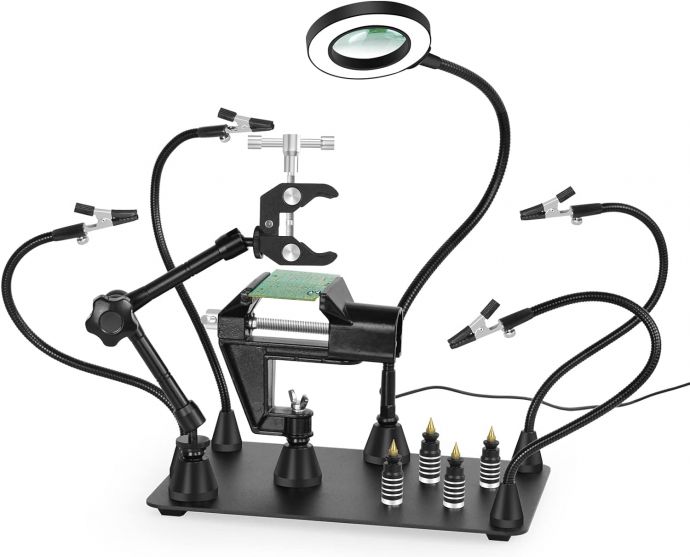
- Adjustable stand or gooseneck for optimal placement
- Replaceable filter frame for hassle-free maintenance
## Step-by-Step: Building Your 12V Fume Extractor
**Estimated build time: 1 hour (excluding enclosure design/printing).**
### Step 1: Gather Tools and Materials
- 1x 12V DC fan (120mm or larger recommended)
- 1x activated carbon filter (cut to fan size)
- Sturdy enclosure (wood, metal, plastic, or 3D-printed)
- 12V power adapter / battery pack
- Power switch (optional)
- Basic wiring tools (screwdriver, wire cutters, soldering iron if desired)
- Universal fan grill (to protect blades)
- Foam/mesh prefilter (optional, prolongs carbon filter life)
### Step 2: Prepare Your Enclosure
If you’re 3D printing, sites like Thingiverse offer customizable fan filter box STL files. Otherwise, cut a hole matching your fan in an existing enclosure or craft a box from wood or acrylic.
Ensure that the **carbon filter sits snugly in front of (intake side) the fan**—this way, contaminated air is drawn through the filter before reaching the fan blades.
### Step 3: Mount the Fan and Filter
- Attach the fan inside the enclosure using screws or zip ties.
- Place the carbon filter directly over the intake (front) side, securing it with a filter frame, grill, or retainer.
- Add a prefilter (like a thin foam pad) before the carbon to catch solder splatter and large debris.
### Step 4: Wire Up the Power
- Connect the fan’s red (positive) and black (negative) wires to your 12V adapter plug or battery pack.
- Install a switch in-line if desired.
- Check polarity before powering on—most fans are clearly marked.
- Test run the fan outside the enclosure to ensure smooth operation.
### Step 5: Final Assembly and Testing
- Seal the enclosure so that air only enters through the filter (no leaks).
- Attach a grill over the filter for added safety.
- Power up the unit and place near or above your soldering station.
- Hold a strip of paper or a bit of smoke near the intake to verify airflow and extraction efficiency.
Congratulations—your lungs now have a first line of defense against the hidden threat of solder smoke.
## Where and How to Use Your New Fume Extractor
Place your extractor as **close to the solder joint as possible**—ideally within 10–15 centimeters (4–6 inches). The closer the fan and filter, the more smoke gets captured before dispersing into your breathing zone. For workbenches with a fixed layout, a gooseneck or adjustable mounting arm helps keep the extractor positioned perfectly.
Turn on the extractor before you begin soldering, and let it run for a few minutes afterwards to ensure lingering fumes are cleared. Replace the filter material regularly, typically every 1–3 months depending on usage, or whenever you notice decreased airflow or odor absorption.
## Optimizing Your Fume Extractor: Tips and Upgrades
- **Dual-Fan Setups:** For heavy-duty work or wide stations, doubling up on fans boosts coverage and isn’t much more complex.
- **Variable Fan Speed Controllers:** Use a cheap PWM controller to allow fine adjustment of airflow (and noise).
- **Smart Features:** Integrate a simple microcontroller (Arduino, ESP8266) with air quality sensors and auto-on functionality for next-level performance.
- **Aesthetics:** Integrate LEDs or custom enclosures for visual flair.
## Fume Extractor Maintenance and Safety
Your fume extractor is only as effective as its filter!
- **Check filters monthly** for discoloration or odor. Replace when saturated.
- **Clean the prefilter** (if used) with water or compressed air to extend main filter life.
- **Never operate without a filter**—this sends contaminated air right into the fan and back into the room.
- **Always unplug before opening the enclosure** for safety.
## Beyond the Fume Extractor: Comprehensive Soldering Safety
A fume extractor is a huge step forward—but don’t stop there:
- **Use lead-free solder** whenever possible (RoHS-compliant).
- **Ensure general ventilation** in your workspace.
- **Wear protective eyewear** to guard against accidental splashes.
- **Wash your hands thoroughly** after soldering, especially before eating.
## The DIY Advantage: Cost, Customization, and Satisfaction
A commercial fume extractor can easily cost $100–$300 or more. In contrast, a DIY solution using a high-quality fan, enclosure, and filter can be assembled for $20–$40—all while tailoring size, shape, and features to your space.
More than just a functional tool, building your own extractor is an empowering act of self-care and technical skill. You’ll learn about airflow, filtration, and electronics in the process—deepening your understanding and your engagement with the maker community.
## Conclusion: Breathe Better, Solder Smarter
Every project completed