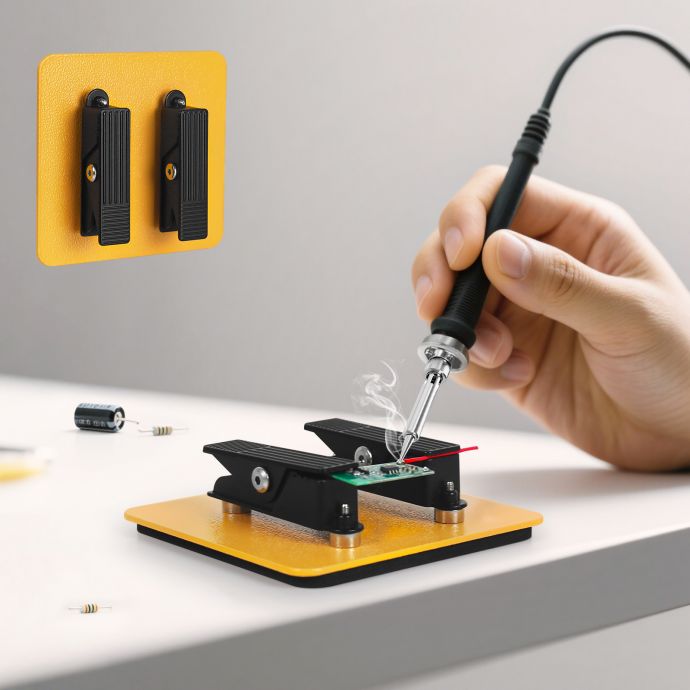
If you’re into soldering—whether it’s electronics repair, hobby projects, or even jewelry making—you know that clean connections are key to success. But there's a catch: every time you pick up that soldering iron, you’re releasing fumes into your workspace. These fumes, often from burning flux or heated solder, contain a mix of chemicals—some of which can be harmful if inhaled regularly.
Commercial fume extractors exist, but they can be expensive, bulky, or just not tailored to the needs of a small workshop or portable setup. Enter the DIY smoke absorber: a budget-friendly, efficient, and customizable solution to protect your health and maintain a seamless workflow. In this article, we'll guide you through the logic, design, and construction of the 6.7 DIY Smoke Absorber—a simple yet effective fume extraction tool that proves you don’t need to sacrifice health or workspace harmony due to cost.

---
## Why Do You Need Fume Extraction When Soldering?
Before jumping into the how-tos, it’s crucial to understand why smoke absorption is non-negotiable in any soldering environment:
**Solder Fumes: What’s Inside?**
Most commonly, soldering involves rosin-cored wire, which, when heated, releases rosin (colophony) vapors. Inhaling rosin fumes over time can cause respiratory irritation, headaches, or even occupational asthma—especially for those who solder frequently. Lead-based solder, older soldering metals, and certain fluxes can add heavy metals and toxins to the mix.
**Regulatory Advice**
Occupational health agencies like OSHA (Occupational Safety and Health Administration) in the US recommend using local exhaust ventilation at soldering stations. For hobbyists and small businesses, setting up such systems can be cost-prohibitive or incompatible with tight spaces.
So, the goal is clear: develop a compact, effective, and affordable smoke absorber.
---
## Introducing the 6.7 DIY Smoke Absorber
The “6.7” in the name references the project’s goal for a minimum airflow of 6.7 cubic feet per minute—a sweet spot balancing portability, efficiency, and noise. The design is based on readily available components and can be assembled in an afternoon, requiring only basic tools.
### Key Features
- **Highly Effective Filtration:** Employs an activated carbon filter to capture harmful fumes and neutralize odors.
- **Low Cost:** Utilizes common parts (computer fans, simple ducting) to keep total expenses well below commercial alternatives.
- **Compact Design:** Fits on most workbenches and is easily portable.
- **Customizable:** Can be tweaked for more airflow, different meshes, or portable power sources.
---
## Components and Tools You’ll Need
### Components
1. **120mm Computer Fan (12V DC)**
- Known for quiet, efficient airflow.
2. **Activated Carbon Filter Pad**
- Available online or at aquarium stores.
3. **Fan Guard and Grill**
- Protects the filter and improves airflow direction.
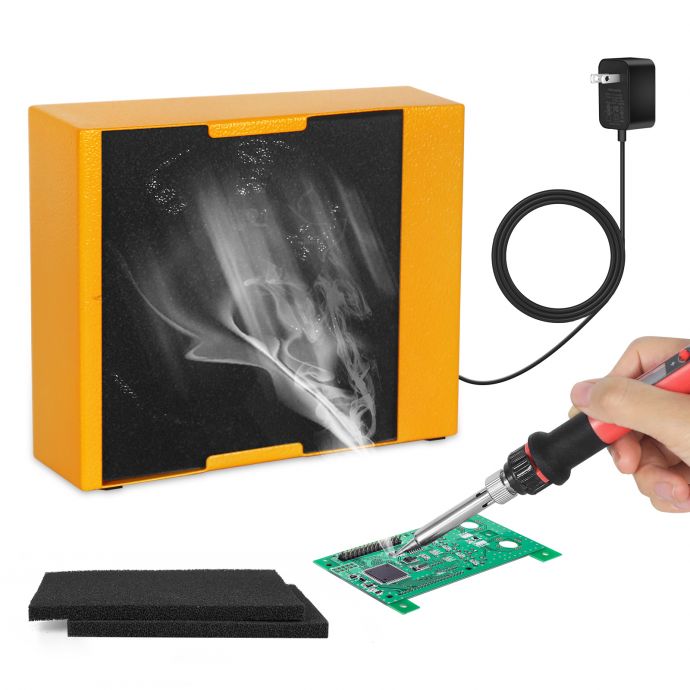
4. **Power Supply (12V wall adapter or USB-to-12V module)**
5. **3D-Printed or DIY Chipboard Casing (optional)**
- Can be swapped for a repurposed project box.
6. **On/Off Toggle Switch**
- For easy operation.
7. **Screws and Mounting Hardware**
8. **Wires and Connectors**
9. **Rubber Feet or Anti-Vibration Pads**
- To reduce noise on hard surfaces.
### Basic Tools
- Soldering iron
- Wire strippers and cutters
- Screwdrivers
- Hot glue gun (for filter attachment)
- Drill (for mounting holes, if needed)
---
## Step-by-Step Build Guide
### 1. Design the Airflow Path
The effectiveness of any fume extractor depends on how smoothly air is drawn through the filter and away from the operator’s breathing space. The fan should directly face the source of the fumes, with the carbon filter positioned as the first barrier.
**Tip:** Avoid long air paths or loose perifilter gaps, as these reduce suction and let fumes escape.
### 2. Preparing the Fan and Casing
- **Optional:** If you have access to a 3D printer, print a box that snugly fits the 120mm fan.
- If not, any sturdy project box big enough for the fan will do. Cut an opening for the fan, with the intake side facing soldering operations.
- Line the inside with thin rubber or foam for vibration dampening.
### 3. Mount the Fan and Filter
- Attach the fan to the box, using screws or mounting brackets.
- Cut the activated carbon filter pad to size (matching the fan's face) and secure it on the intake side using the fan’s grill/guard and clips or hot glue.
- For best results, the filter should be easily replaceable—consider using a removable grill.
### 4. Electrical Wiring
- Connect the fan leads to the toggle switch, then from the switch to your chosen power supply connector (DC jack or USB module).
- Solder all connections, insulate with heat shrink or electrical tape.
- Mount the switch on the casing for easy access.
### 5. Final Assembly and Placement
- Assemble the casing fully, ensuring all wiring is internal and neat.
- Add rubber feet or pads to the bottom to minimize noise.
- Place the unit within 6-8 inches of your soldering station, with the intake facing the workspace.
---
## Customization and Upgrades
The base 6.7 DIY Smoke Absorber is just the beginning. Here are some ideas to tailor or enhance your setup:
1. **Boost Airflow:** Use stronger fans or dual fan configurations for projects with heavier fume output.
2. **Portable Power:** Integrate a battery pack or USB input for on-the-go use.
3. **Digital Controls:** Add a speed controller (PWM module) to adjust fan speed as needed.
4. **HEPA Layer:** For higher purity, sandwich an ultra-fine HEPA filter layer behind the carbon.
5. **Indicator Lights:** Use an LED to signal on/off status or filter replacement reminders.
---
## Filter Maintenance and Longevity
Activated carbon doesn’t last forever. Its pores gradually fill with absorbed chemicals, reducing effectiveness. For moderate home use, check and replace the pad every 1-2 months, or immediately if you notice more fume odor escaping.
Regularly clean dust from the fan and grill. Keep spare filters on hand—pads can be cut from bulk aquarium filter sheets, further saving costs.
---
## Real-World Performance: What to Expect
**Airflow Efficiency**
With a quality 120mm fan, you’ll achieve 6.7+ CFM (cubic feet per minute) airflow even with the filter installed. This is sufficient for one or two soldering irons in close proximity. More demanding setups can be handled with stacked or parallel fans.
**Noise Level**
Computer fans run quietly—especially if mounted on vibration-absorbing materials. Expect a soft hum at most, quieter than a desktop PC.
**Odor and Fume Removal**
Properly built and maintained, the 6.7 DIY Smoke Absorber will sharply reduce flux and solder odors at the source. It won’t, however, make up for extremely poor room ventilation or replace the need to solder with doors/windows cracked open in a pinch.
---
## How This Approach Protects Your Health
Each time you solder, you’re exposed to very fine particles (some smaller than 1 micron) and volatiles (like formaldehyde or phenols). The activated carbon does the heavy lifting by adsorbing these compounds, while strong airflow ensures they don’t linger in your breathing zone.
Over months and years, this simple intervention can drastically reduce inhaled toxins, minimize irritation, and keep your workspace feeling fresh. For those with allergies, asthma, or a desire to work smarter, it’s a game-changer—and a testament to DIY ingenuity.
---
## Keeping Workspace Flow Uninterrupted
One of the joys of a DIY solution like this absorber is its seamless integration into your routine. There’s no need to set up cumbersome ducts or noisy machines; you simply place it near your soldering mat, flip the switch, and get to work. Swapping or cleaning the filter takes seconds, meaning maintenance won’t become a chore.
If you move between workstations or pack up after each session, the compact, lightweight form is a blessing. No more excuses for skipping fume control—health and productivity can go hand in hand.
---
## Final Thoughts: Join the DIY Health Revolution
For anyone who spends hours soldering, protecting your lungs is an investment that pays for decades. The 6.7 DIY Smoke Absorber proves that with a few basic parts and a little initiative, top-tier fume control is well within reach—no steep learning curve or huge outlay needed.
Beyond your own bench, consider sharing the design with friends or local maker spaces. Each affordable extractor built adds up to a community that values craft and safety equally.
So, gather your tools, grab a fan, and breathe easier knowing you’re shielding yourself from harm—without breaking the bank, your flow, or your spirit of ingenuity.
---
**Have your own upgrade ideas or build experience to share? Leave a comment below—let’s make the world of soldering not only creative, but cleaner and healthier for all.**