Soldering is an indispensable skill for electronics enthusiasts, makers, and professionals alike. Yet, for all its utility, soldering can produce hazardous fumes containing lead, rosin, and other volatile compounds. These fumes are not only unpleasant but can also pose long-term health risks such as respiratory irritation and chronic lung conditions. Fortunately, you don’t need to spend hundreds of dollars on a commercial fume extractor; with a bit of ingenuity, you can build your own 12V DIY solder smoke extractor that transforms your soldering station into a safer, breathing-friendly workspace.
Whether you’re a hobbyist or a professional, protecting your lungs should always be a priority. This comprehensive guide will walk you through building an effective fume absorber fan, explain the science behind its operation, and provide practical tips for maintaining air quality in your workspace.
---
**Why Solder Fume Extraction Matters**
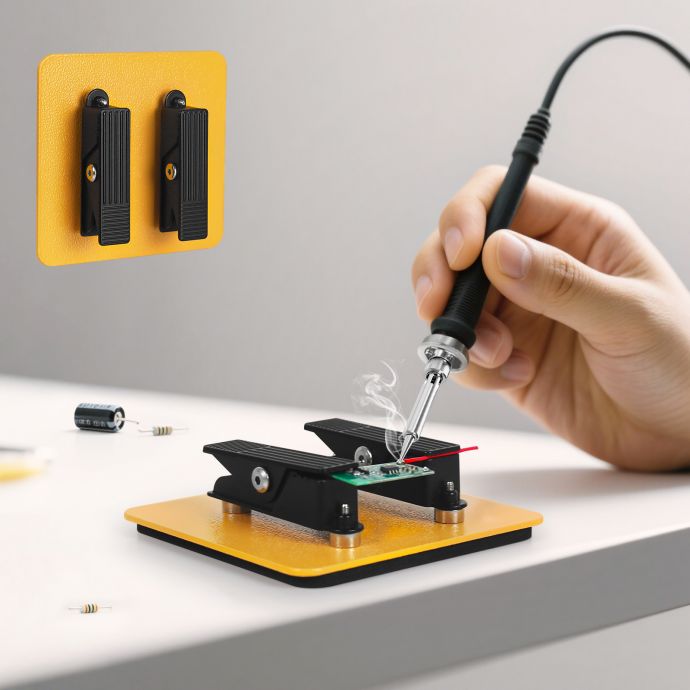
Solder smoke contains a cocktail of harmful chemicals. Traditional solder uses lead, which is toxic, while lead-free solder relies on metals like tin and silver. Rosin, a key flux ingredient, breaks down during soldering to release aldehydes, acids, and particles that can irritate your eyes, nose, and throat. The danger increases with prolonged exposure or in poorly ventilated spaces.
Chronic exposure to solder fumes is linked to:
- Respiratory problems (asthma, bronchitis)
- Allergic reactions
- Headaches and fatigue
- Long-term neurological effects
Even if you use lead-free solder, the flux fumes are still hazardous. Proper ventilation and extraction are vital, especially if you solder frequently.
---
**Understanding Solder Smoke Extraction**
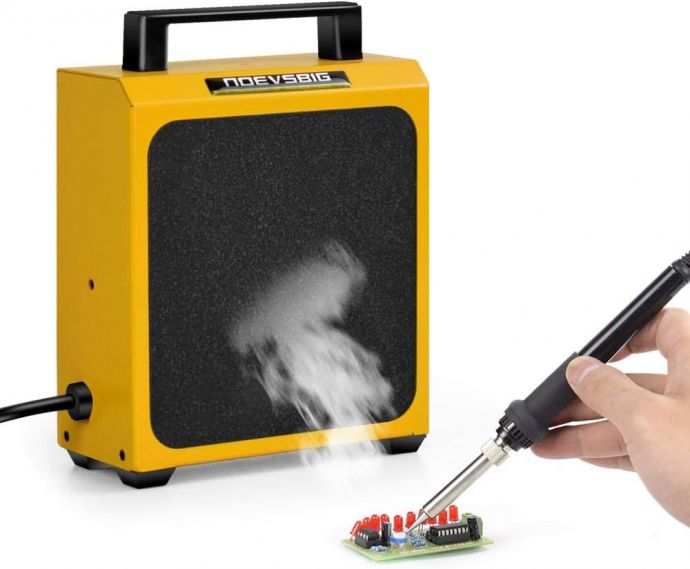
A solder smoke extractor draws contaminated air away from the workspace, passes it through a filter (usually activated carbon), and releases cleaner air. This simple mechanism relies on airflow and filtration, and for smaller workspaces, a compact 12V solution is ideal.
Key elements of a solder smoke extractor:
- **Fan:** Generates airflow to pull fumes away.
- **Filter:** Traps particles and absorbs harmful chemicals.
- **Power Source:** Typically 12V, suitable for portability and safety.
- **Enclosure:** Houses the fan and filter, directs airflow.
---
**Components for a DIY 12V Solder Smoke Extractor**
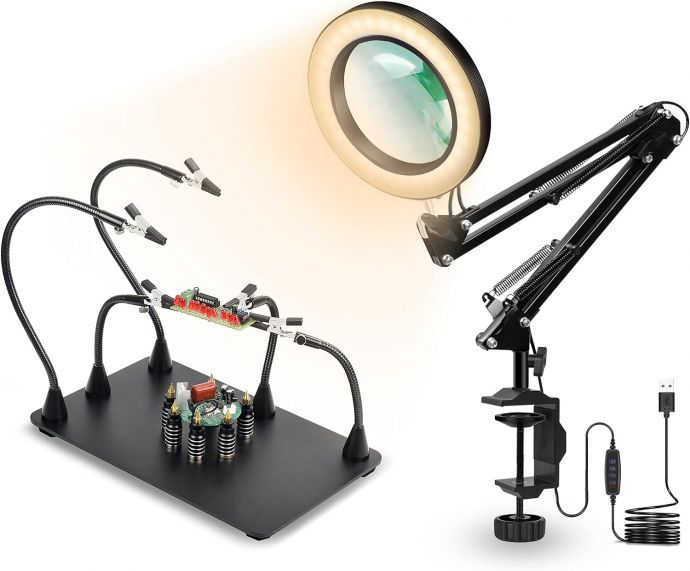
You only need a handful of components to build a highly effective smoke extractor. Here’s what you’ll require:
1. **12V Fan (120mm recommended):** Computer cooling fans are affordable, quiet, and robust. Bigger fans move more air, improving extraction efficiency.
2. **Activated Carbon Filter:** Furnace or air purifier filters cut to size serve well; activated carbon absorbs odors and chemicals.
3. **Enclosure/Frame:** Can be 3D-printed, built from acrylic sheet, or crafted from cardboard/plastic boxes.
4. **12V Power Supply:** Wall adapter or battery pack; make sure to match fan specifications.
5. **Switch (optional):** For easy control.
6. **Wiring & Connectors:** To connect fan, switch, and power source.
7. **Mesh/Grill:** Prevents accidental contact with the fan blades.
Optional extras:
- **HEPA filter:** For improved particle filtration.
- **Flexible arm or bracket:** Position extractor for optimal airflow.
- **LED indicator:** Shows when the extractor is running.
---
**Step-by-Step: Building Your Solder Smoke Extractor**
Let’s walk through the process from start to finish.
**1. Sourcing Components**
Most components can be purchased online, at electronics stores, or repurposed from old equipment.
- *Fan*: Search for a 120mm 12V PC fan with at least 50 CFM airflow.
- *Filter*: Buy activated carbon sheets, or use replacement filters for kitchen range hoods.
- *Enclosure*: Measure your fan and filter; the enclosure should accommodate both with space for airflow.
**2. Preparing the Filter**
Cut the activated carbon filter to match the size of your fan. If you wish to use both carbon and HEPA, layer them together, with carbon facing the workspace to absorb fumes first.
**3. Building the Enclosure**
Options:
- *3D Printing*: If you have access, print a frame that snugly fits your fan and filter.
- *Acrylic/Plastic*: Cut panels to size and glue together for a sturdy housing.
- *Cardboard/Upcycled box*: Quick and easy; ideal for beginners.
Mount the fan inside the enclosure so it pulls air through the filter. Secure the filter on the intake side using clips or adhesives.
**4. Wiring and Switch Installation**
Connect the fan to the 12V power supply. If you’re using a wall adapter, solder or crimp connectors for a secure joint. Insert a switch in-line with one wire for easy control. If using batteries, add a holder for easy swapping.
**5. Safety Features**
Mount a mesh or grill over the fan intake to prevent fingers and tools from touching the blades. If using an enclosure, ensure all wiring is insulated and secured.
**6. Final Assembly**
Secure all components inside the enclosure. Test the fan with the filter installed; airflow should be strong but not obstructed. If you notice a significant drop, try a thinner filter or a more powerful fan.
**7. Placement**
Place the extractor within 10-15cm of your soldering work. Flexible arms/clamps can help position it optimally. The closer to the source, the better the extraction.
---
**Testing and Improving Your Extractor**
Once assembled, test the extractor during soldering. You should see fumes pulled toward the fan intake and notice a significant reduction in odor and smoke. If not, troubleshooting steps include:
- Verifying the fan orientation (should pull air through the filter).
- Ensuring there are no leaks in the enclosure.
- Experimenting with thicker or thinner carbon filter sheets.
You can further enhance performance by:
- Using multiple fans for increased airflow.
- Adding a secondary filter for finer particle removal.
- Creating a funnel/housing to optimize airflow direction.
---
**Maintaining Air Quality: Usage Tips**
Extractors are most effective when paired with smart habits. Here are practical tips for maximizing your workspace safety:
- **Ventilate:** Keep windows open or use a secondary exhaust fan.
- **Routine Maintenance:** Replace filters every 6-12 months, depending on usage.
- **Work Surface Positioning:** Place extractor as close to the soldering joint as feasible.
- **Regular Cleaning:** Dust and particles can clog filters; clean the extractor monthly.
---
**Cost Comparison: DIY vs. Commercial Extractors**
Commercial solder smoke extractors can cost $100-$300, with replacement filters averaging $30-$60. By contrast, a DIY solution can cost under $30:
- Fan: $10-$15
- Activated carbon filter: $5-$10
- Enclosure/building materials: $0-$10 (often repurposed)
- Power supply: $5-$10
Not only does this save money, but it gives flexibility in size, filter type, and portability.
---
**Common Questions and Troubleshooting**
*Q: Is a carbon filter enough, or do I need HEPA?*
A: Activated carbon excels at absorbing chemical fumes, but HEPA adds particulate filtration. For most hobbyists, carbon suffices; add HEPA for heavy use or if you have asthma.
*Q: How often should I replace the filter?*
A: Every 6-12 months, depending on soldering frequency. If you notice persistent odor or reduced airflow, change the filter.
*Q: Can I use a USB-powered fan?*
A: Yes, but USB fans are typically weaker than 12V fans. For efficient extraction, stick with a 12V PC fan.
---
**Advanced Enhancements**
As you get comfortable with fume extraction, consider upgrades:
- **Variable Speed Control:** Add a PWM controller to adjust airflow.
- **Digital Air Quality Meter:** Monitor workspace air for hazardous particles.
- **Automatic On/Off:** Use a soldering iron sensor to trigger the fan.
For makers with 3D-printing or fabrication skills, customizable enclosures improve modularity and style.
---
**Benefits Beyond Soldering**
A fume extractor isn’t just for soldering. Use it for:
- Airbrush painting
- Glue and solvent handling
- Laser engraving
Any workspace that produces airborne irritants benefits from a dedicated extractor.
---
**Conclusion: Protecting Your Lungs Without Breaking the Bank**
Building a DIY 12V solder smoke extractor is an empowering step toward safer, healthier electronics work. By understanding the risks of solder fumes, assembling your own extractor, and practicing good air quality habits, you transform your workspace into a haven for creativity — without jeopardizing your health.
The simplicity of this build belies its effectiveness; with readily available materials and straightforward construction, anyone can assemble a fume absorber fan that rivals commercial products in performance. Whether you’re an occasional tinkerer or a seasoned soldering pro, this project delivers peace of mind and longevity for your lungs and your passion.
Now, clear the air, breathe easy, and make your soldering station as welcoming for your creativity as it is for your health.