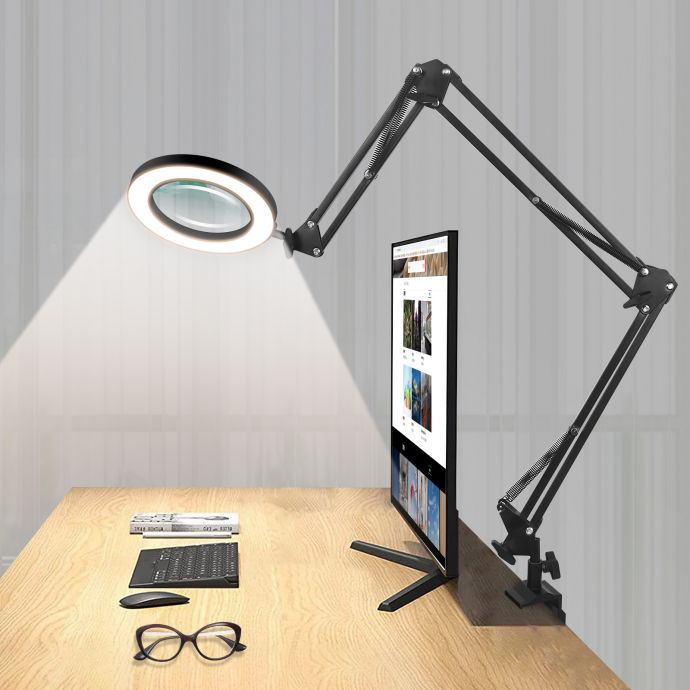
Soldering is a staple skill for electronics enthusiasts, makers, and anyone who enjoys tinkering with circuits and gadgets. While it’s a rewarding hobby or an essential professional skill, there’s an often-overlooked hazard: the smoke and fumes generated during the soldering process. Even when using lead-free solder, the melting flux releases fumes that can irritate your eyes, throat, and—if you’re soldering often enough—pose long-term health risks.
Most commercial fume extractors are effective but can cost a small fortune, putting them out of reach for many hobbyists. But the good news is, you can build your own highly efficient fume extractor for just a fraction of the price. Best of all, it’s simple, uses easily sourced parts, and provides real protection for your lungs without making you dip into your gadget fund.
Let’s dive into building your own 6.7 DIY fume extractor—a compact, safe, and affordable solution that lets you breathe easy while doing what you love.
---
## Why Fume Extraction Matters
Before getting our hands dirty, it’s worth understanding why soldering fumes are a concern. Soldering smoke isn’t just an annoyance or a case of "bad smell." It’s a mixture of microscopic particles and gases, including:
- **Rosin-based flux fumes**: The most common irritant, containing compounds like colophony and other organic acids.
- **Metallic particles**: Lead (if using traditional solder), tin, silver, and copper.
- **Additives**: Sometimes, solder contains additional chemicals to help with flow or oxidation resistance.
Inhaling these fumes can cause:
- Eye, nose, and throat irritation
- Headaches and dizziness
- Triggered asthma attacks and long-term respiratory problems
Worse, the effects are cumulative, and you may not notice any symptoms until you've already been exposed for a long period. That’s where a fume extractor comes in: it captures these harmful particles right at the source, preventing them from spreading throughout your workspace and entering your lungs.
---
## What Makes a Good Fume Extractor?
The ideal fume extractor for soldering work is:
1. **Efficient**: It must effectively draw in smoke and particulate matter.
2. **Safe**: It shouldn’t introduce new risks (fire, electrical hazards, etc.).
3. **Affordable**: Especially important for hobbyists and those building their own electronics stations.
4. **Compact**: Fits on a small workbench without crowding your workspace.
5. **Easy to maintain**: Filters are simple to replace or clean.
Commercial units often use high-powered fans and specialized HEPA or activated carbon filters. Our DIY solution follows the same principles but uses cleverly sourced parts to keep the costs down, giving you similar performance without the premium price tag.
---
## DIY Fume Extractor: Parts List & Costs
Here’s a list of what you’ll need—most parts can be found at electronics stores, hardware shops, or online retailers. You may already have some of these on hand if you’re a regular DIYer.
**Required Components:**
- **120mm Computer Fan (12V DC)**
A common size in desktop PCs, these can move a lot of air quietly and efficiently.
- **Activated Carbon Filter Pad**
Available as replacement sheets for kitchen hoods or aquarium filters. The pad absorbs harmful organic compounds in the smoke.
- **Fan Grill or Filter Frame**
To hold the filter in place and prevent objects from touching the fan blades.
- **12V Power Supply or AC Adapter**
You’ll need a steady, safe power source for the fan.
- **Switch and Wiring**
For controlling the fan and connecting to your power supply.
- **Project Box or Stand**
To house or support the fan. You can repurpose a food container, 3D print a case, or construct a simple frame from wood or metal.
- **Rubber Feet or Pads**
To minimize vibrations and keep the unit from sliding around.
- **Optional: LED Light Strip**
Some like adding a light for better visibility on their workbench.
**Estimated cost:**
Expect to spend around $20-$40 USD, depending on what you have on hand. This is far less than the $80-$300 price of a commercial fume extractor with similar airflow and filtration.
---
## Building Your 6.7 DIY Fume Extractor
Let’s map out a step-by-step build process. "6.7" here refers to a compact, roughly 6.7-inch square footprint—a perfect size for most hobby benches.
### 1. Prepare the Fan and Power
- Start with your 120mm (roughly 4.7-inch) computer fan.
- Check its power rating; most use 12V DC and require around 0.2 amps.
- If you have an old PC or laptop power supply (12V, at least 1A), you’re golden. Otherwise, buy a dedicated wall adapter.
- Wire up a simple switch between the power supply and fan for easy on/off operation.
- Test the fan to ensure it spins up smoothly and quietly.
### 2. Making the Filter Holder
- Cut the activated carbon filter pad to fit the fan. It should slightly overlap the fan’s surface.
- Secure the filter pad to the intake (sucking) side of the fan using the grill (if available), elastic bands, or even zip ties.
- The key is to ensure all smoke passes through the filter before reaching the fan blades.
### 3. Building the Enclosure or Stand
- Choose your enclosure: a food container, project box, or a simple angled stand (for the classic fume extractor look).
- Cut an opening for the fan. The front should be nearly flush with the filter, maximally exposing the filter to your workspace.
- Attach the fan so that the intake is exposed to the workspace and the exhaust blows away from you.
- Use hot glue, screws, or double-sided tape for a secure fit.
### 4. Optional Features
- Mount an LED strip above the fan inside the housing for workbench illumination.
- Add a handle for portability.
- Integrate rubber pads or feet to minimize vibration.
### 5. Final Assembly
- Double-check all wiring for exposed terminals.
- Make sure the filter is firmly held in place and there’s no risk of it being drawn into the fan.
- Test run: Place a soldering iron in front and see how well the smoke is drawn in. You should see the smoke veer toward the filter pad and disappear, rather than wafting into your face.
---
## Using and Maintaining Your DIY Fume Extractor
Getting the most out of your extractor involves more than just switching it on. Here’s how to maximize protection and efficiency:
- **Positioning:** Place the filter intake as close to your soldering work as possible without impeding movement. 4-6 inches (10-15 cm) from the tip is ideal.
- **Angle:** Aim the extractor so it intercepts the rising smoke plume. A slight upward tilt helps.
- **Filter Replacement:** Activated carbon pads adsorb fumes but saturate over time. Replace them every 1-2 months with regular soldering, or sooner if you notice the extractor isn’t working as well.
- **Cleaning:** Dust and solder buildup can reduce airflow. Wipe down the grill and housing with a damp cloth monthly.
---
## How Effective is a DIY Solution?
You don’t have to take it on faith—the design described here is similar to basic commercial extractors. While true HEPA filter extractors offer even finer particle filtration (and expensive units may feature both carbon and HEPA stages), an activated carbon pad removes most organic vapor and nuisance smoke you’ll encounter with hobby soldering.
And the 120mm fan, rated for ~50-80 cubic feet per minute (CFM), provides plenty of airflow for single-user workstations. If you find yourself doing heavy-duty soldering for hours daily, consider doubling up on fans or filters, or upgrading to a dual-stage filter box. For most users, this DIY extractor will make a dramatic improvement in air quality and safety.
---
## Real-World Tips and Troubleshooting
Here are a few common questions and tips to help you get the best results from your extractor:
**Q: My fan is weak and doesn’t pull the smoke well. What’s wrong?**
- Make sure your carbon pad isn’t too thick. Try a single layer; stacking multiple sheets can block airflow.
- Use a fan with a high static pressure rating (common in "server" fans).
- Check your power supply for proper voltage.
**Q: The workbench is still smoky.**
- Move the extractor closer or use a larger fan.
- Check for airflow leaks around the filter edges.
- Replace the filter—it may be saturated.
**Q: Is this good enough to replace a fume hood?**
- For small-scale soldering, yes—but if you’re working with acids, solvents, or large-scale assembly, a full fume hood is best.
- Always combine local extraction with good room ventilation.
---
## Going Further: Upgrades and Customization
Once you’ve mastered the basics, you can tweak your extractor to meet your exact needs. Try these enhancements:
- **Add a HEPA stage:** Combine a HEPA vacuum filter behind the carbon pad for even finer particulate removal.
- **Speed control:** Use a PWM controller or voltage dial to adjust fan speed and airflow to your liking.
- **Permanent enclosure:** 3D print a custom housing that’s easy to open for filter changes and includes dedicated wire management.
- **Smart features:** Add a particulate sensor and digital display to monitor air quality during long projects.
---
## In Conclusion
Protecting your health doesn’t have to be expensive—not when a safe, effective solution is a DIY project away. With a modest investment of money, time, and a few basic tools