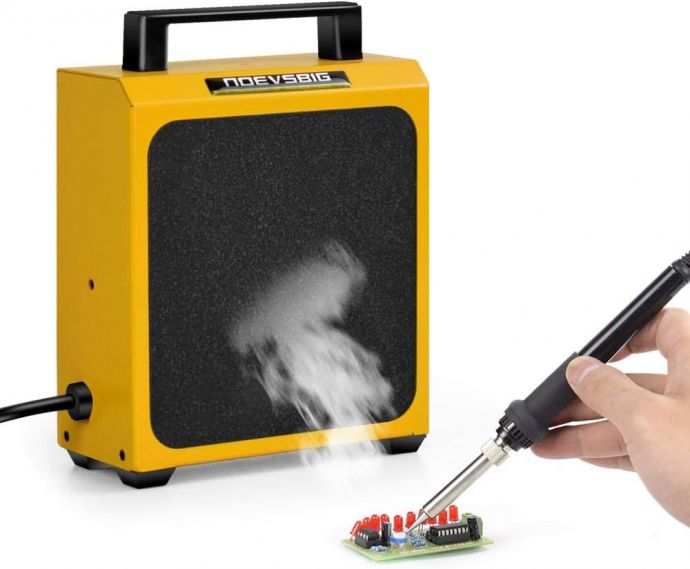
Working with solder is a staple of electronics, jewelry making, and various DIY crafts. Yet, as any experienced maker knows, that satisfying sizzle when solder melts is accompanied by something much less pleasant: solder fumes. These fumes contain flux vapors, particulates, and sometimes traces of harmful metals that can irritate your eyes, inflame your sinuses, and, with long-term exposure, even damage your lungs. While occasional whiffs might get dismissed, repeated exposure can lead to chronic respiratory issues. Protecting yourself doesn’t just mean opening a window or hoping for the best; it calls for a robust solution.
The great news? You can build an ultra-effective solder fume extractor right at home—affordably and tailored to your needs. Let’s walk through creating a powerful, 6.7 smoke-slaying extractor that not only clears your workspace but actively purifies your air, safeguarding your health for every future project.

---
## Why Solder Fume Extraction Matters
Whenever solder heats up, particularly rosin-core solder, it releases a cocktail of chemicals, including formaldehyde, methanol, and tiny particulate matter. Over time, working in such conditions damages your mucous membranes, triggers asthma or allergies, and exposes vulnerable individuals to even more severe risks. Relying on room ventilation or makeshift solutions typically only dilutes these fumes; it doesn't effectively remove them. This is where an extractor comes in—a dedicated device that pulls fumes away from your breathing zone, filtering and scrubbing them from the air.
---
## The Ultimate Extractor: What Makes It "6.7 Smoke-Slaying"?
One of the most effective designs is a high-CFM (cubic feet per minute) extractor with a multi-stage filter. By "6.7," we're alluding to a unit capable of processing at least 6.7 cubic feet of air per minute, a benchmark found to be more than sufficient for a typical soldering workstation. This rate ensures fumes are whisked away before they can spread.
Our design will combine a powerful blower, activated carbon and HEPA filtration, and user-friendly controls—giving you professional-level purification for a fraction of the commercial cost.
---
## What You’ll Need (Materials & Tools Checklist)
Before starting, gather these essentials. You can source many of them from local hardware stores, online retailers, or repurpose from existing equipment:
#### Materials:
- **High-flow 120mm or 140mm computer fan** (12V, rated for 100+ CFM)
- **Activated carbon pre-filter pad** (cut to fit fan size)
- **HEPA-grade filter pad** (vacuum or air purifier replacement size)
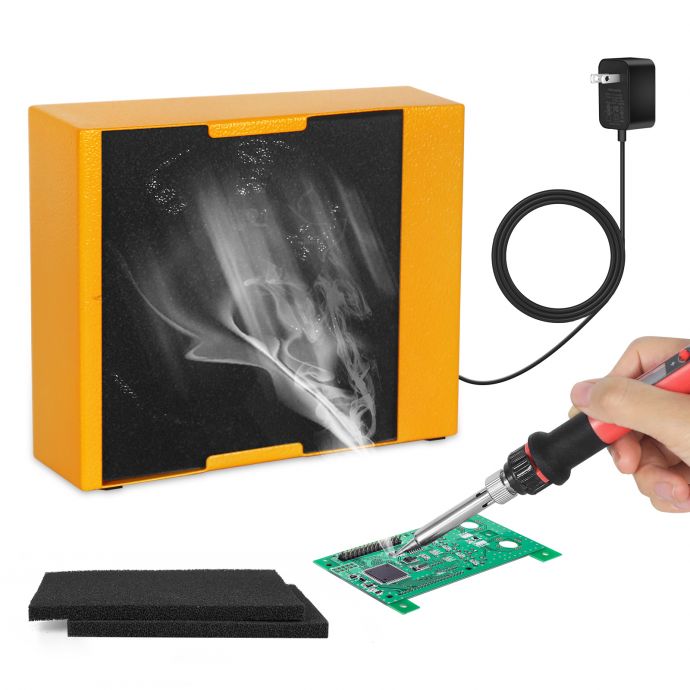
- **Fan housing or enclosure** (recycled computer power supply box, project box, or 3D-printed case)
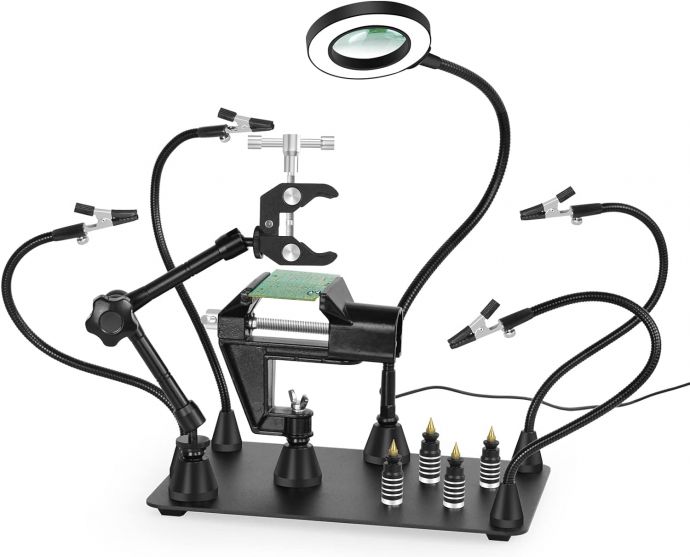
- **Flexible gooseneck or adjustable stand**
- **12V DC power supply** (with appropriate amperage for the fan, typically 1A is sufficient)
- **Rocker switch or toggle switch** (for easy operation)
- **Wiring, terminals, and heat shrink tubing**
- **Velcro strips or filter frame** (to hold the filters for easy replacement)
- **Optional:** Indicator LED or fan speed controller
#### Tools:
- Screwdrivers
- Soldering iron (ironically!)
- Wire cutters/strippers
- Hot glue gun or epoxy
- Drill and bits (if making a custom enclosure)
- Scissors or utility knife
---
## Step-by-Step Assembly Guide
### 1. **Design Your Layout**
Begin by visualizing your extractor. The fan should pull air through the filters before venting it out the back or top. Place the filters where smoke first enters, maximizing absorption before air leaves the extractor.
**Tip:** For desktop use, keep the unit compact so it sits close to your work without intruding.
---
### 2. **Prepare the Enclosure**
Find a housing that fits your fan snugly and leaves room for filter layers in front of the intake. Upcycling a computer power supply box works great—just strip out the electronics and keep the shell.
Using your scissors or drill, cut an opening at the front (ideally as round as the fan face) for fume entry. At the back, add ventilation holes for exhaust.
---
### 3. **Install the Fan**
Align the fan so it pulls air *through* your filter—in other words, place the filter on the side where you’ll be soldering. Secure the fan with screws or hot glue inside the enclosure.
Connect your fan wiring to the power supply cable, with the switch in series on the positive (red) line. If you’re using an LED as a power indicator, add it in parallel to the fan’s leads.
Test the fan on its own first to ensure smooth operation.
---
### 4. **Add Multi-Stage Filtration**
The secret to a truly effective solder fume extractor is multi-stage filtering:
- **First stage – Activated Carbon:** This pad absorbs volatile organic compounds (VOCs), neutralizes odors, and traps a lot of the vaporized rosin/flux.
- **Second stage – HEPA Filter:** This captures particles down to 0.3 microns, including fine smoke and soot missed by the carbon layer.
Cut both pads to fit snugly against the fan’s intake side. Secure them with Velcro, a simple foam gasket, or a filter frame made from cardboard or plastic. Make sure they’re easy to remove and replace when saturated.
---
### 5. **Mount the Unit for Flexible Use**
Mobility is crucial. Attach your extractor to an adjustable stand, a gooseneck, or a magnetic base so you can position it close to your soldering spot. Having the extractor’s intake 4–8 inches from your iron will deliver the best performance—any farther and smoke can dissipate before getting captured.
---
### 6. **Finishing Touches: Power, Switches & Safety**
Install your power switch accessibly, and ensure all wiring is safely insulated. Add rubber feet if the box will sit on the bench, or a clamp if you’ll mount it. Route the DC connector so that it’s easy to unplug.
Optionally, a fan speed controller adds another level of versatility; slow it for quiet jobs, boost it for heavy-duty soldering.
---
## Testing: Is Your Extractor Really "6.7 Smoke-Slaying"?
Numbers matter! To ensure your extractor meets the “6.7” benchmark:
1. **Measure the fan’s rated airflow** (check datasheet in CFM).
2. **Check the filter airflow** (expect a small drop; good fans still move 50-70% of their rated CFM with filters attached).
3. **Use the “Paper Test”:** Hold a lit incense stick or piece of paper near the inlet. You should see smoke rapidly pulled toward the filters.
For most electronics benches, even a 60 CFM effective airflow is overkill—ensuring fumes never linger.
---
## Maintenance: Keeping Your Lungs (and Extractor) Happy
The beauty of DIY is control over maintenance and upgrades. Swap out filter pads regularly (every 1–3 months, depending on use). If you notice decreased smoke capture or musty odor, it’s time for new filters.
Vacuum the pre-filter to remove dust, and always unplug before cleaning. Never run the extractor without both filter stages—this ensures full protection!
---
## How It Compares: DIY vs. Store-Bought Fume Extractors
Commercial fume extractors can cost anywhere from $50 to $300 and often use low-power fans (20–30 CFM) with small, expensive filter cartridges. Many basic models can’t handle heavy or prolonged soldering without letting fumes escape back into your space.
Your DIY extractor:
- **Cost:** Usually under $30–$40 in parts
- **Flow capacity:** Easily meets or exceeds 6.7 CFM (and likely multiples of that!)
- **Customizable:** Upgrade filters, add sensors, or resize on demand
- **Reliable:** If a part fails, you can fix or swap it—no proprietary components
---
## Practical Upgrades and Next-Level Features
Once you’ve mastered the basics, experiment with these mods:
- **Digital air quality sensors:** Add a PM2.5 or VOC sensor to monitor performance in real time
- **Sound dampening:** Line the enclosure with foam for near-silent operation
- **Smart controls:** Pair with a soldering iron’s power switch or set to auto-activate with a smoke sensor
- **Larger-scale extraction:** For major workflows, scale up with multiple fans and larger filter media
---
## Real-World Success Stories
Hobbyists, repair techs, and artists worldwide have embraced DIY extractors with remarkable results. One electronics technician reported, "After building my fume extractor, I was stunned by how much clearer the air felt. No more burning eyes, no more sore throat after long soldering sessions. I wouldn’t go back for anything."
Jewelry makers, especially, love how these units filter out both solder and torch smoke, making small studios safer and more pleasant to work in.
---
## Conclusion: Craft Smarter, Breathe Healthier
Building your own powerful solder fume extractor isn’t just about gear—it's about investing in your lifelong well-being and making sure every creative session is as safe as it is satisfying. With a modest budget, a little bit of time, and this step-by-step guide, you can transform your workspace from smoky to spotless.
Once you’re set up, you’ll wonder how you ever worked without it. Your lungs, your focus, and your craft will thank you for years to come—so fire up your soldering iron with confidence, breathe easy, and let creation flourish in the healthiest way possible.