Soldering is a key skill for any electronics enthusiast, maker, engineer, or professional, from repairing circuit boards to building custom hardware. But with every solder joint, there’s a hidden danger: the fumes released from solder and flux contain chemicals like rosin, lead particles (for leaded solder), and volatile organic compounds. Over time, inhaling these fumes can cause headaches, respiratory issues, and even long-term health consequences.
While commercial fume extractors are available, they often come with a hefty price tag—especially for hobbyists or those working on a smaller scale. Fortunately, you can protect your health, craft with confidence, and clear the air at your soldering station by building your own effective DIY solder fume extractor. This comprehensive guide will walk you through the why, what, and how of creating your own smoke-free soldering haven, with step-by-step instructions, handy tips, and insight into best practices.

## Why You Need a Solder Fume Extractor
### Health Hazards
Soldering fumes contain substances that are potentially hazardous:
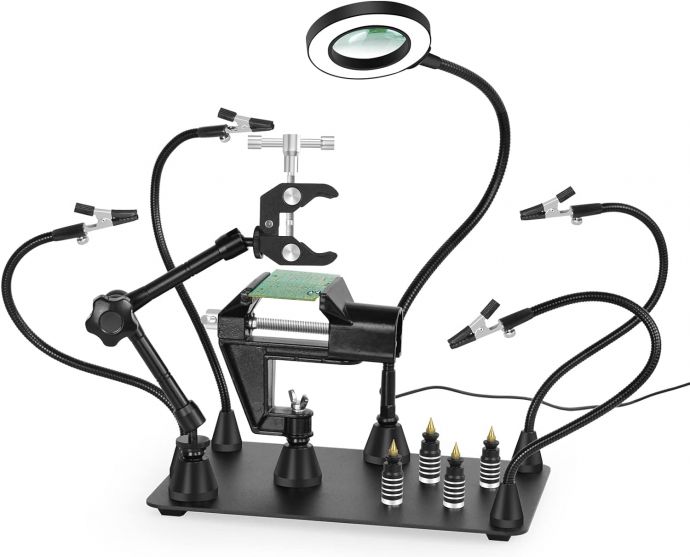
- **Rosin Core Solder**: When heated, rosin emits fumes that can cause irritation of the eyes, throat, and lungs. Prolonged exposure can lead to occupational asthma and other allergic reactions.
- **Lead (for traditional leaded solder)**: Lead exposure can be harmful, especially if inhaled. Chronic exposure can impact nearly every organ, particularly the nervous system.
- **Flux Additives**: Various fluxes add their own mix of chemicals; many are not intended for inhalation.
Even if you’re using lead-free solder, the flux fumes are still problematic and should be avoided. Protecting your lungs is as important as protecting your hands!
### Productivity
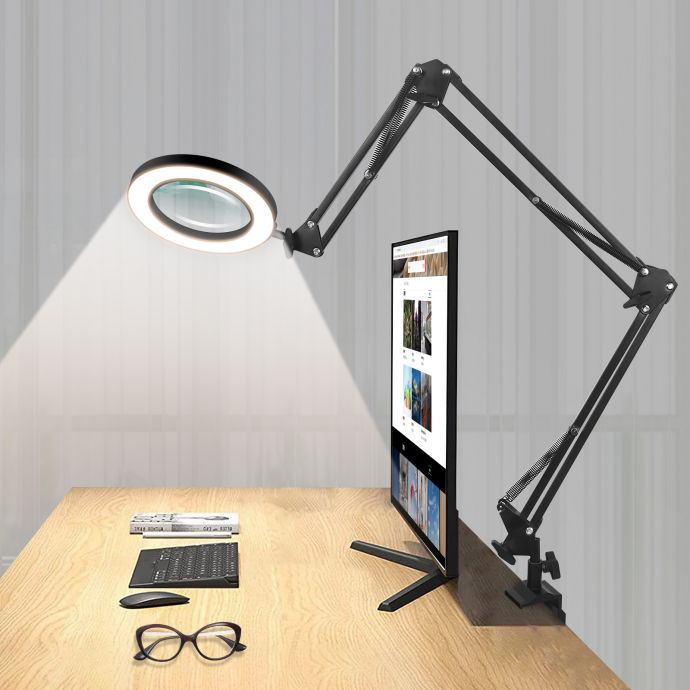
A smoke-free workspace improves visibility (no more obscured solder joints) and lowers distraction, making your soldering work more accurate and enjoyable.
### Professional Standards
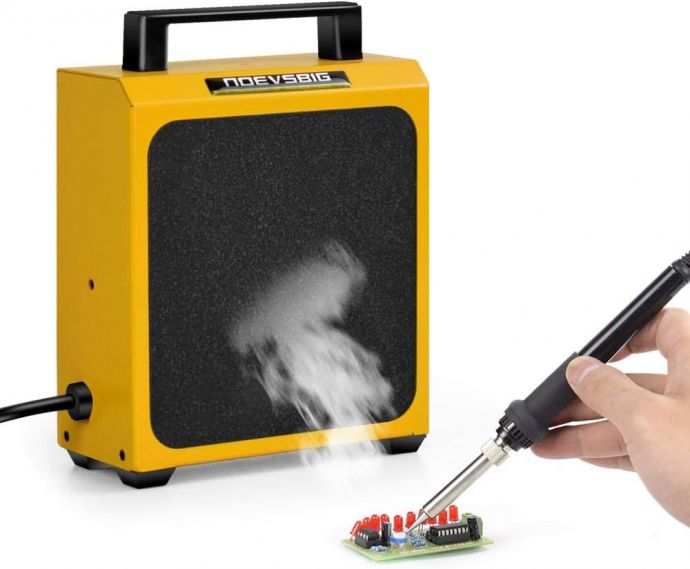
Many workplaces mandate fume extraction for good reason. Bringing this level of safety to your hobby station sets a strong example and shows respect for your own well-being.
## Key Principles of Fume Extraction
A solder fume extractor works on two simple principles:
1. **Capture**: It draws in smoke directly at the source (above your iron/tip) before it can dissipate into the workspace.
2. **Filter**: After capture, the fume extractor passes the air through filters that trap particulates and chemicals. Activated carbon is a common filter media for solder fumes.
For maximum safety, your extractor should:
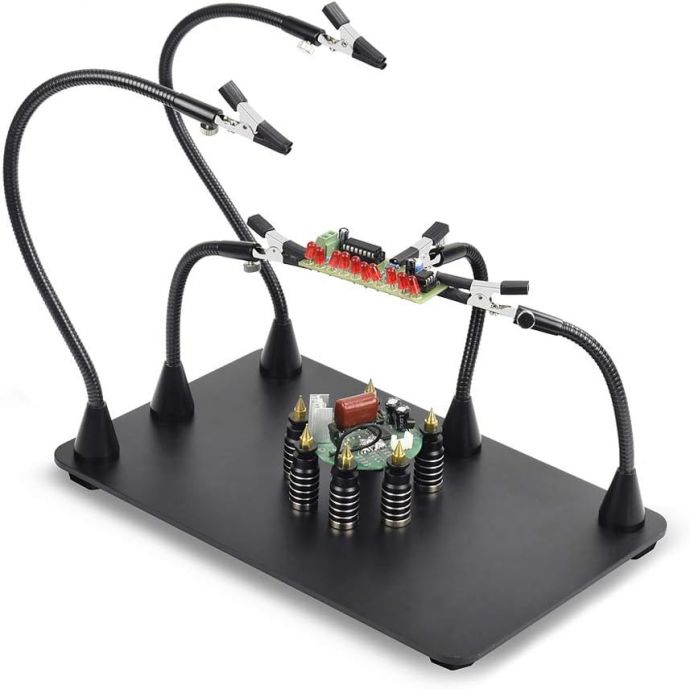
- Be positioned close to your soldering work.
- Have sufficient airflow to capture smoke quickly.
- Use a filter designed to remove both particles and volatile organic compounds.
With these principles in mind, let’s build your own solder fume extractor.
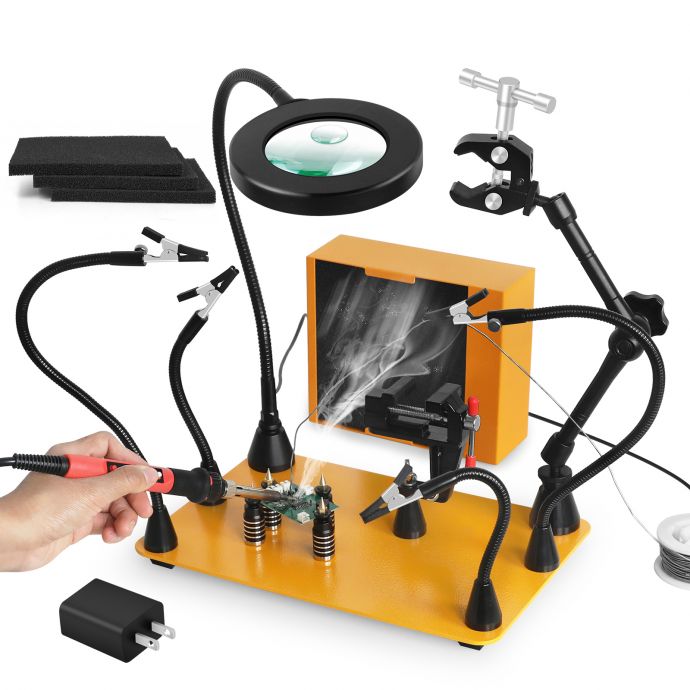
## Essential Materials: What You’ll Need
The beauty of a DIY extractor is its simplicity and affordability. Here’s what you need (with suggested sources):
- **Fan**: A 120mm computer case fan is ideal. It’s quiet, readily available, and provides enough airflow for most soldering stations.
- **Activated Carbon Filter**: Buy pre-cut carbon pads (often sold for kitchen or air purifier use) or larger carbon sheets to trim to size.
- **Housing/Frame**: Build from sturdy cardboard, 3D-printed plastic, or repurpose an old metal enclosure.
- **Power Adapter**: A 12V DC wall adapter with at least 0.5A output (check your fan’s specs).
- **Switch (optional)**: For convenient on/off control.
- **Wire and Soldering Tools**: For connections and assembly.
- **Mounting Hardware**: Screws, zip ties, or hot glue to secure components.
Optional upgrades:
- **HEPA filter**: For additional particle filtration.
- **Flexible Gooseneck Arm**: Adjust positioning easily.
- **LED lamp integration**: Enhance workspace lighting.
## Step-by-Step DIY Fume Extractor Build
### Step 1: Plan Your Build
Sketch your extractor. The fan will pull air through the filter, so place the filter in front of (or behind) the fan. Make sure your housing allows for good air intake and easy filter changes.
Decide if your extractor will be:
- **Stationary**: Sits next to your soldering station.
- **Portable/Adjustable**: Mounted on a gooseneck or movable frame.
### Step 2: Prepare the Fan
Most fans come with 3-pin (red, black, yellow) or 2-pin wires.
- **12V DC**: Connect the red wire to +12V, black to ground.
- **3-pin fans**: The yellow wire is for speed sensing and can be left disconnected.
- Test the fan with your power adapter before mounting.
### Step 3: Build the Housing
Cut an opening sized for your fan in your chosen enclosure (cardboard box, project housing, etc.).
- Position the fan so air is drawn through the carbon filter.
- Seal any gaps around the fan with tape or glue to maximize suction efficiency.
- Leave space for filter replacement.
If using cardboard, reinforce the frame with extra layers. If you 3D print or use metal/plastic, include slots or holders for the filter.
### Step 4: Install the Filter
Secure the carbon filter directly in front of the fan intake. If the fan blows air forward, place the filter before the airflow; for suction (reverse fan direction), place the filter behind.
- You can sandwich the filter between two mesh screens for support.
- If using a HEPA filter, layer it with the carbon filter.
### Step 5: Wiring
Add a switch between your power adapter and fan if desired.
- Solder connections or use connectors.
- Insulate with heat shrink or tape.
- Route cables safely to avoid workspace clutter.
### Step 6: Test and Position
Power your extractor and check airflow with a strip of paper. Place the extractor 10–15 cm (4–6 inches) from your soldering spot—close enough to capture fumes, but not so close it interferes with your work.
Test extraction by soldering and observing smoke movement. Adjust the position as needed.
## Advanced Upgrades
Once your extractor is running, consider:
- **Gooseneck/Arm Mounting**: Attach to a flexible arm so you can move the extractor closer or farther as you change projects or work angles.
- **Noise Reduction**: Add rubber washers or mount vibration-damping feet to keep your workspace quiet.
- **Multiple Fans**: For larger setups, install two fans side-by-side for double the extraction.
- **Lighting Integration**: Attach an LED strip or spotlight to the frame for better visibility.
- **Smart Controls**: Integrate a microcontroller (like Arduino) to automate fan speed, timing, or even air quality sensing.
## Maintenance Tips
- **Change Filters Regularly**: As the carbon filter fills up, its extraction efficiency drops. Replace every 2–6 months, depending on use.
- **Clean Fan Blades**: Dust will build up. Wipe blades every few months.
- **Check Wiring and Power**: Inspect for frayed wires or loose connections to prevent short circuits.
- **Examine Airflow**: If you notice less smoke extraction, check for blockages or filter saturation.
## How Effective Is a DIY Solder Fume Extractor?
A fan plus activated carbon filter is surprisingly robust for home or small workshop use. While industrial extractors may be mandatory in high-volume settings, studies and anecdotal reports from makers indicate that DIY units dramatically reduce visible smoke and airborne contaminants. For those soldering occasionally, this approach is a cost-effective health safeguard.
For added assurance, you can measure air quality with a particulate sensor (like a PM2.5 sensor) or monitor odors using chemical sensors—though even without these, observable differences are substantial.
## Crafting with Confidence: Your Health Matters
It’s easy to get absorbed in the joy of soldering, but protecting your health ensures you can enjoy your hobby or craft long-term. By building a DIY fume extractor, you create a safer, cleaner, and more pleasant workspace at a fraction of the cost of commercial models. Moreover, you engage in a hands-on mini project—a perfect complement to any maker routine.
Take pride in your soldering station, not only for the technical results, but for creating a safe environment where creativity doesn’t come at the expense of your well-being.
## Common Questions
### Can I Use a Cheaper Fan?
You can use smaller fans (80mm or lower), but airflow drops. For best results, stick with 120mm or higher.
### Is Activated Carbon Enough?
For most soldering fume types, yes. However, combining with a HEPA filter boosts effectiveness, particularly for heavy particle loads.
### What About Open Windows?
Ventilation helps, but isn’t a substitute for direct extraction. Fumes dissipate quickly, but you still inhale them before they leave the room.
## Troubleshooting
- **Insufficient Airflow**: Check for obstructions, old filters, or a weak power supply.
- **Fan Doesn’t Spin Up**: Confirm voltage matches fan requirements; check connectors for faults.
- **Filter Saturation**: Replace as needed; odors or visible smoke escaping signal replacement time.
## Conclusion
Making a solder fume extractor is an excellent investment in your health and workspace comfort. With a few basic materials and a little assembly, you create a “6.7 smoke-free haven” for your soldering station—protecting your lungs while letting your creativity and confidence shine.
Whether you’re a hobbyist, student, or pro, this DIY project is an essential step toward safer, smarter, and more enjoyable electronics crafting. Clear the air, ensure your well-being, and solder with confidence!
---
**Resources & Further Reading:**
- [Safety in Electronics Work – Soldering Fume Extraction](https://www.hse.gov.uk